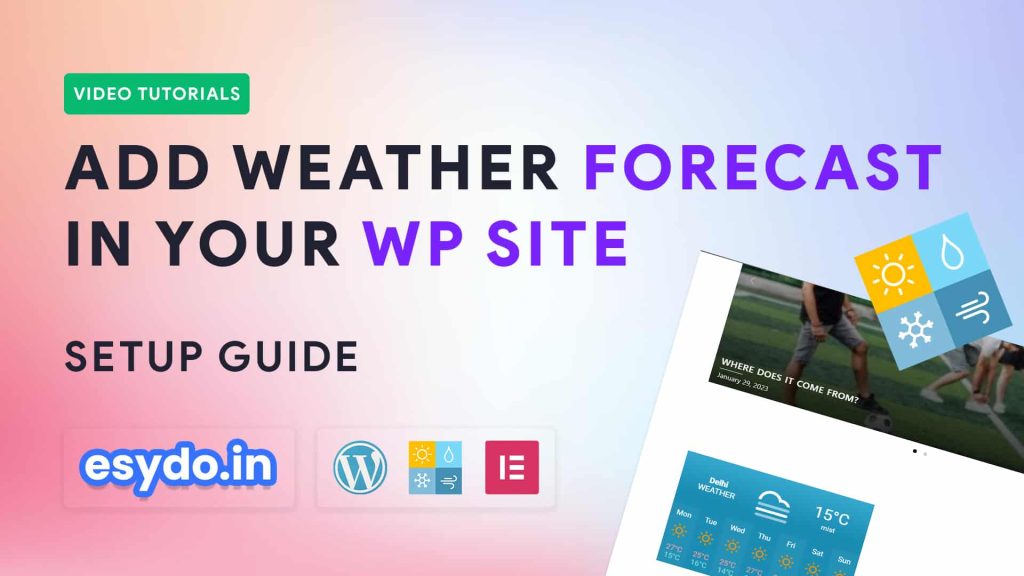
Weather forecasts are a valuable addition to any website, providing real-time information to your audience and helping them plan their activities accordingly. Whether you run a blog, a travel website, or a local business, integrating a weather forecast display can be beneficial. In this blog, we’ll explore the advantages of having weather forecasts on your WordPress website and how you can easily add this feature using a tutorial by Esydo India.
Why Include a Weather Forecast on Your Website?
Enhanced User Experience: A live weather forecast widget adds value to your website by offering visitors relevant and up-to-date information. It keeps them engaged and encourages return visits.
Travel and Tourism: If your website focuses on travel destinations or local attractions, weather information helps travelers plan their trips effectively, such as packing the right clothing or choosing ideal travel dates.
Local Businesses: Local businesses, especially those in the outdoor or tourism industry, can benefit from weather forecasts to promote activities or products based on current weather conditions.
Content Relevance: Adding weather forecasts can make your content more relevant. For example, a blog post about hiking can display weather conditions for popular hiking spots.
Informative and Trustworthy: Offering accurate weather information on your website enhances its credibility. Visitors are more likely to trust a website that provides valuable data.
Adding Weather Forecast to Your WordPress Website
Adding a weather forecast display to your WordPress website can be achieved with the help of various weather plugins and widgets. Here’s a general guideline:
1. Choose a Weather Plugin:
- Go to your WordPress dashboard.
- Navigate to “Plugins” and click “Add New.”
- Search for weather plugins like “Simple Weather” or “Weather Widget” and install the one that suits your needs.
2. Configure the Plugin:
- After installation, activate the plugin.
- Access the plugin’s settings and customize the display, location, and units (e.g., Celsius or Fahrenheit).
3. Add the Widget to Your Site:
- Go to the “Appearance” section and click on “Widgets.”
- Find the weather widget you installed and drag it to your desired widget area, such as the sidebar or footer.
Save and Preview:
- Save your changes and visit your website to see the live weather forecast in action.
Esydo India Tutorial: Adding Weather Forecast Widgets
We known for its user-friendly WordPress tutorials, offers a step-by-step guide on adding a weather forecast widget to your WordPress site. Their tutorial provides clear instructions, making it easy for even beginners to integrate weather forecasts seamlessly.
By following the our tutorial, you can enhance your website with dynamic weather information, enriching the user experience and providing valuable, real-time data to your visitors. Visit their tutorial now to learn how to make your website more informative and engaging with weather forecasts.
Incorporating weather forecasts into your WordPress website is a practical way to engage visitors and provide them with valuable information. Don’t miss out on this opportunity to improve your website’s user experience and relevance. Watch the tutorial by Esydo India and get started today!
Weather Widget Code : Just copy the code and paste it into your website.
<a class="weatherwidget-io" href="https://forecast7.com/en/28d6677d23/delhi/" data-label_1="Delhi" data-label_2="WEATHER" data-font="Roboto" data-icons="Climacons Animated" data-theme="sky" >AGARTALA WEATHER</a>
<script>
!function(d,s,id){var js,fjs=d.getElementsByTagName(s)[0];if(!d.getElementById(id)){js=d.createElement(s);js.id=id;js.src='https://weatherwidget.io/js/widget.min.js';fjs.parentNode.insertBefore(js,fjs);}}(document,'script','weatherwidget-io-js');
</script>